
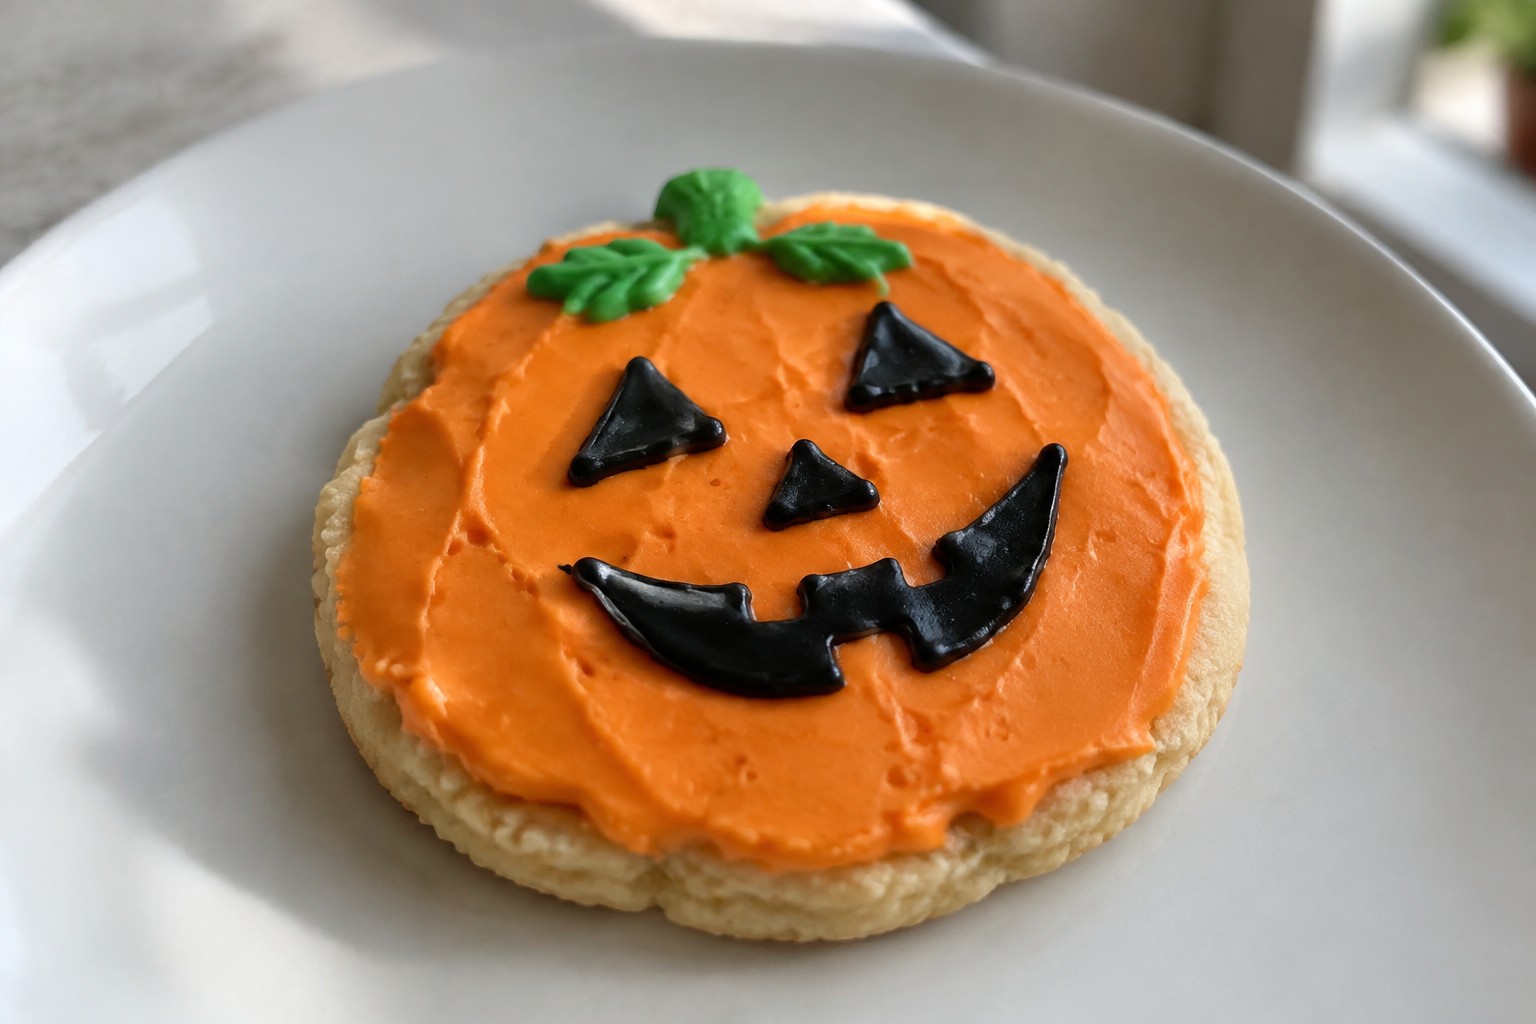
Halloween sugar cookies are a simple project for this time of year. These recipes use doughs that keep their shape after baking. You will find options with different flavors and colors that work with basic icing and cutters. Each one is straightforward to make at home.
Helpful Tips Before You Start
These tips will help you get clean cuts and smooth decorating results for your Halloween sugar cookies.
Chill the Dough Well
Place the dough in the fridge for at least one hour before rolling. Cold dough holds its shape during baking and gives sharper edges on ghosts, bats, and pumpkins.
Cut Shapes with Care
Dip cookie cutters in flour between presses to prevent sticking. Press straight down without twisting for the cleanest outlines.
Bake Until Edges Are Set
Pull the cookies out when the edges just start to turn golden. Overbaking leads to darker cookies that are harder to decorate with light icing.
Cool Fully Before Icing
Let the cookies sit on a rack until they reach room temperature. Any warmth will make royal icing run or lose its shape.
Pipe Borders First
Outline each cookie with a thicker icing line before filling the center. This creates a dam that keeps the flood icing neat and contained.
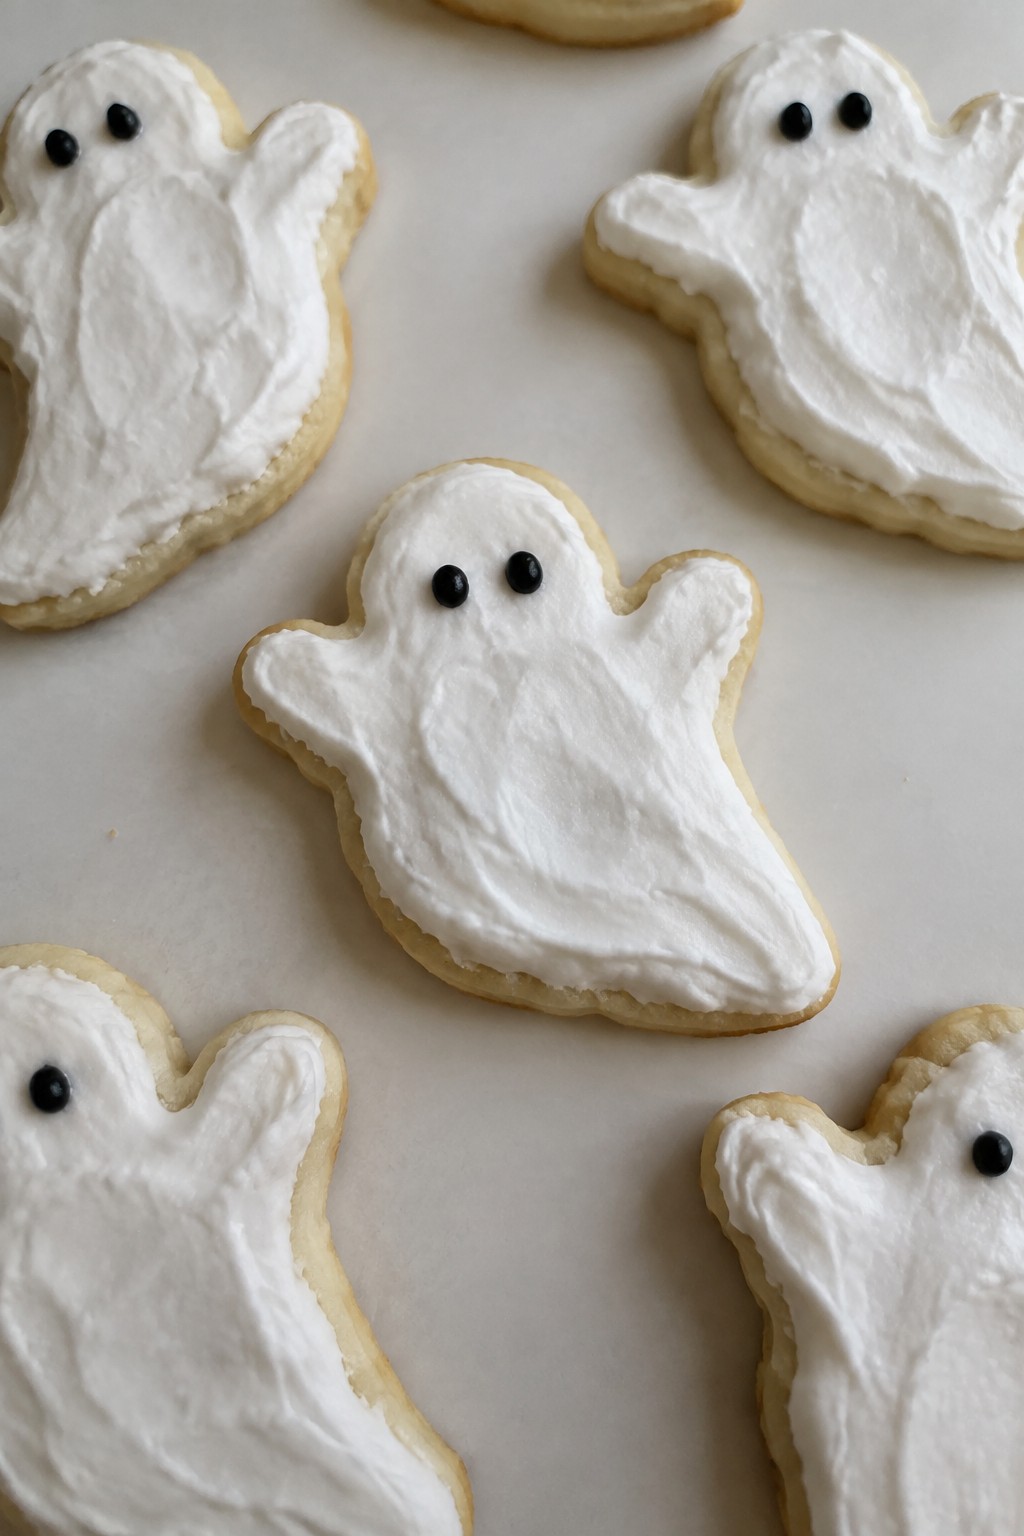
Ghost-Shaped Sugar Cookies with Marshmallow Icing
These ghost-shaped sugar cookies bring a playful touch to any Halloween gathering. The soft cookie base holds its shape well after baking, while the marshmallow icing sets into a light, fluffy layer that looks like a friendly ghost.
They work well for afternoon baking sessions with kids or as a simple dessert to share at parties. The flavor stays classic with notes of vanilla and butter, and the icing adds a sweet, chewy finish without overpowering the cookie.
Serves 4 people.
Ingredients
- 1 1/4 cups all-purpose flour
- 1/2 teaspoon baking powder
- 1/4 teaspoon salt
- 1/2 cup unsalted butter, softened
- 1/2 cup granulated sugar
- 1 large egg
- 1 teaspoon vanilla extract
- 1 1/2 cups mini marshmallows
- 2 tablespoons heavy cream
- 1 cup powdered sugar
- Black gel food coloring
Instructions
- Whisk the flour, baking powder, and salt together in a bowl.
- In a separate bowl, beat the softened butter and granulated sugar until light and creamy.
- Add the egg and vanilla extract to the butter mixture and mix until combined.
- Stir the dry ingredients into the wet mixture to form a soft dough.
- Roll the dough to 1/4-inch thickness between two sheets of parchment paper and chill for 20 minutes.
- Cut ghost shapes with a cookie cutter and place them on a lined baking sheet.
- Bake at 350°F for 8 to 10 minutes until the edges turn lightly golden.
- Cool the cookies completely on a wire rack.
- Melt the mini marshmallows with the heavy cream in a saucepan over low heat, stirring until smooth.
- Remove from heat and stir in the powdered sugar until the icing thickens.
- Spread the icing over each cooled cookie and use black gel food coloring to add eyes and a mouth.
Extra Tips
Chill the dough longer if your kitchen feels warm so the ghosts keep clean edges. The icing sets quickly, so decorate one cookie at a time. Store finished cookies in a single layer at room temperature for up to two days. Course: Dessert Cuisine: American Equipment: Mixing Bowl, Baking Sheet, Wire Rack, Saucepan, Cookie Cutter
Jack-o’-Lantern Sugar Cookies with Orange Royal Icing
These cookies bring a fun Halloween touch with their pumpkin shapes and bright orange icing. They work well for a weekend baking session with kids or as a simple treat to share at a fall gathering. The base is a classic sugar cookie with a crisp edge and tender center, topped with smooth royal icing that sets firmly for easy decorating.

Serves 4 people.
Ingredients
- 1 1/2 cups all-purpose flour
- 1/2 teaspoon baking powder
- 1/4 teaspoon salt
- 1/2 cup unsalted butter, softened
- 1/2 cup granulated sugar
- 1 large egg
- 1 teaspoon vanilla extract
- 2 cups powdered sugar
- 3 tablespoons milk
- Orange food coloring
- Black food coloring
Instructions
- Whisk the flour, baking powder, and salt in a bowl until evenly combined.
- In a separate bowl, beat the butter and granulated sugar until light and fluffy.
- Add the egg and vanilla extract to the butter mixture and mix until smooth.
- Stir the dry ingredients into the wet ingredients to form a dough.
- Roll the dough to 1/4-inch thickness between two sheets of parchment paper, then chill for 30 minutes.
- Cut out pumpkin shapes with a cookie cutter and place them on a lined baking sheet.
- Bake at 350°F for 8 to 10 minutes until the edges turn lightly golden, then cool completely.
- Mix the powdered sugar and milk until the icing reaches piping consistency.
- Divide the icing and tint one portion orange and the other black with food coloring.
- Pipe a solid orange layer over each cookie and let it set before adding black facial details.
Extra Tips
Chill the cut cookies for an extra 10 minutes before baking to help them hold their pumpkin shape. Adjust the icing thickness with a drop more milk if it feels too stiff for smooth coverage. Store finished cookies in a single layer between parchment sheets so the icing stays intact. Course: Dessert Cuisine: American Equipment: Mixing Bowl, Baking Sheet, Piping Bag
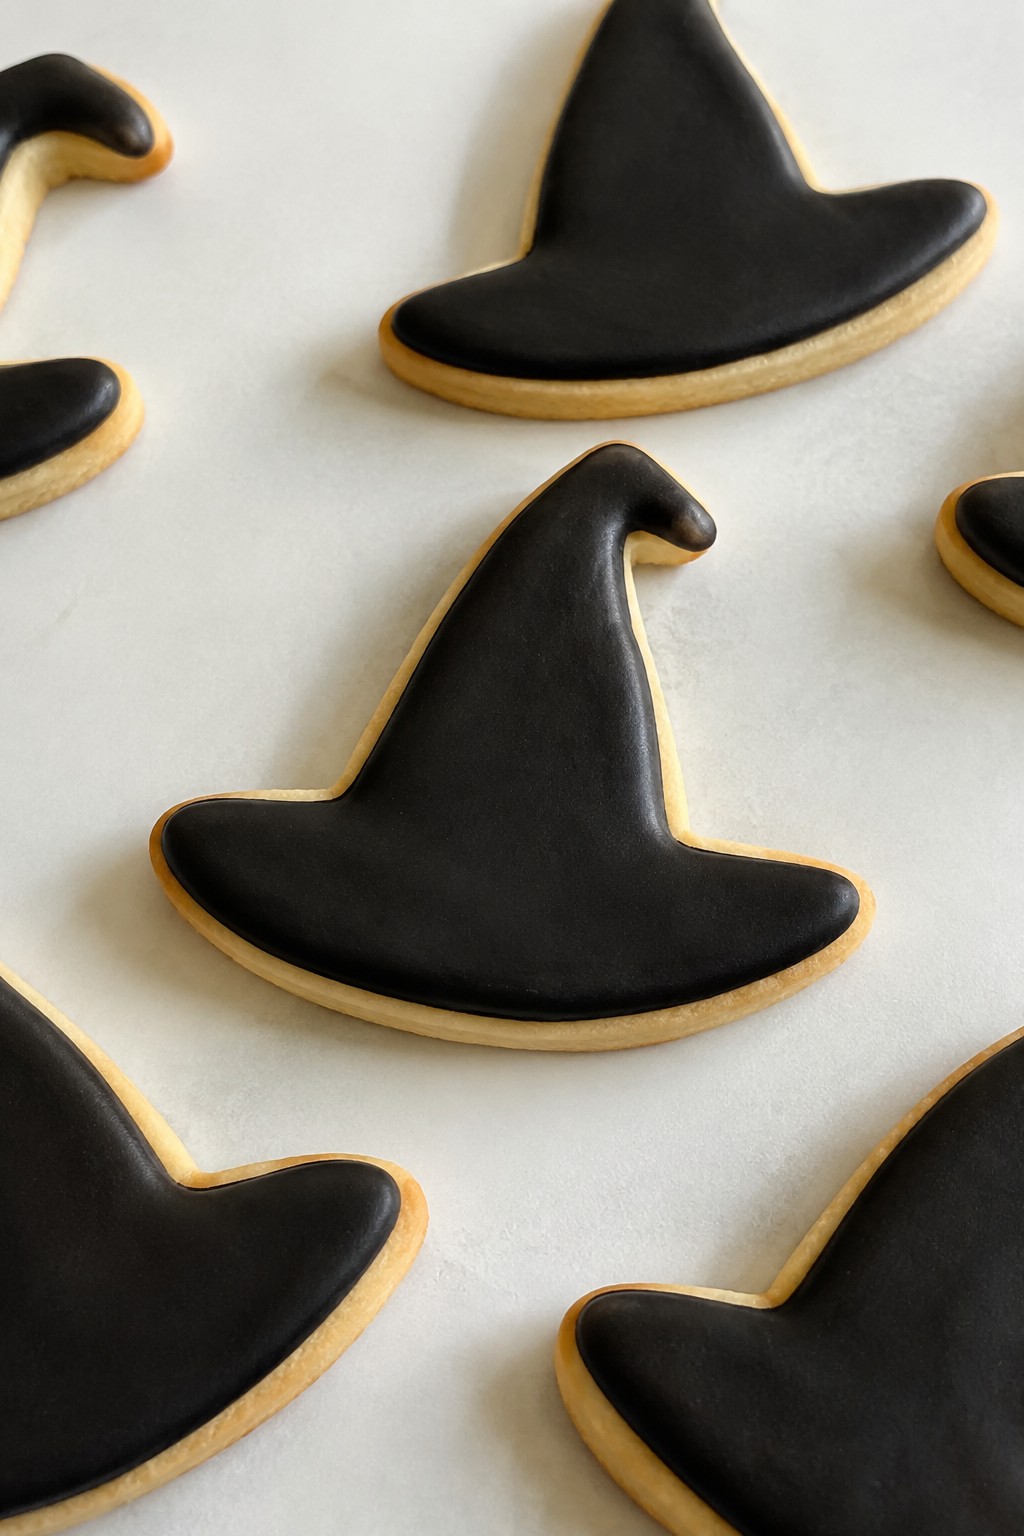
Witch Hat Sugar Cookies with Black Cocoa Glaze
These witch hat sugar cookies stand out on a Halloween spread with their bold dark glaze. The black cocoa gives the topping a deep color and mild chocolate note while the cookies stay light and buttery. They hold their shape well after baking, so the hats stay recognizable.
This version suits small gatherings or a quick baking session before a party. The glaze comes together fast and sets to a smooth finish that highlights the hat outline without extra decorating steps.
Serves 4 people.
Ingredients
- 1 1/4 cups all-purpose flour
- 1/2 cup granulated sugar
- 1/4 cup unsalted butter, softened
- 1 large egg yolk
- 1 teaspoon vanilla extract
- 1/2 teaspoon baking powder
- 1/4 teaspoon salt
- 3/4 cup powdered sugar
- 3 tablespoons black cocoa powder
- 3 tablespoons milk
Instructions
- Preheat the oven to 350°F and line a baking sheet with parchment paper.
- In a mixing bowl, beat the softened butter and granulated sugar until light and fluffy.
- Add the egg yolk and vanilla extract, then mix until combined.
- In a separate bowl, whisk together the flour, baking powder, and salt.
- Gradually add the dry ingredients to the butter mixture and stir until a dough forms.
- Roll the dough out on a lightly floured surface to about 1/4 inch thick.
- Cut the dough into witch hat shapes using a cutter and place the shapes on the prepared baking sheet.
- Bake for 10 to 12 minutes until the edges are lightly golden. Let the cookies cool completely on the sheet.
- In a small bowl, whisk the powdered sugar, black cocoa powder, and milk until smooth and thick.
- Dip the top of each cooled cookie into the glaze, letting excess drip off, then set aside until the glaze firms.
Extra Tips
Keep the glaze on the thicker side so it stays on the hat shape instead of running down the sides. If the dough feels too soft to cut cleanly, chill it for 20 minutes before rolling. Store finished cookies in a single layer in an airtight container at room temperature for up to three days. Course: Dessert Cuisine: American Equipment: Mixing Bowl, Baking Sheet, Rolling Pin, Witch Hat Cookie Cutter, Whisk
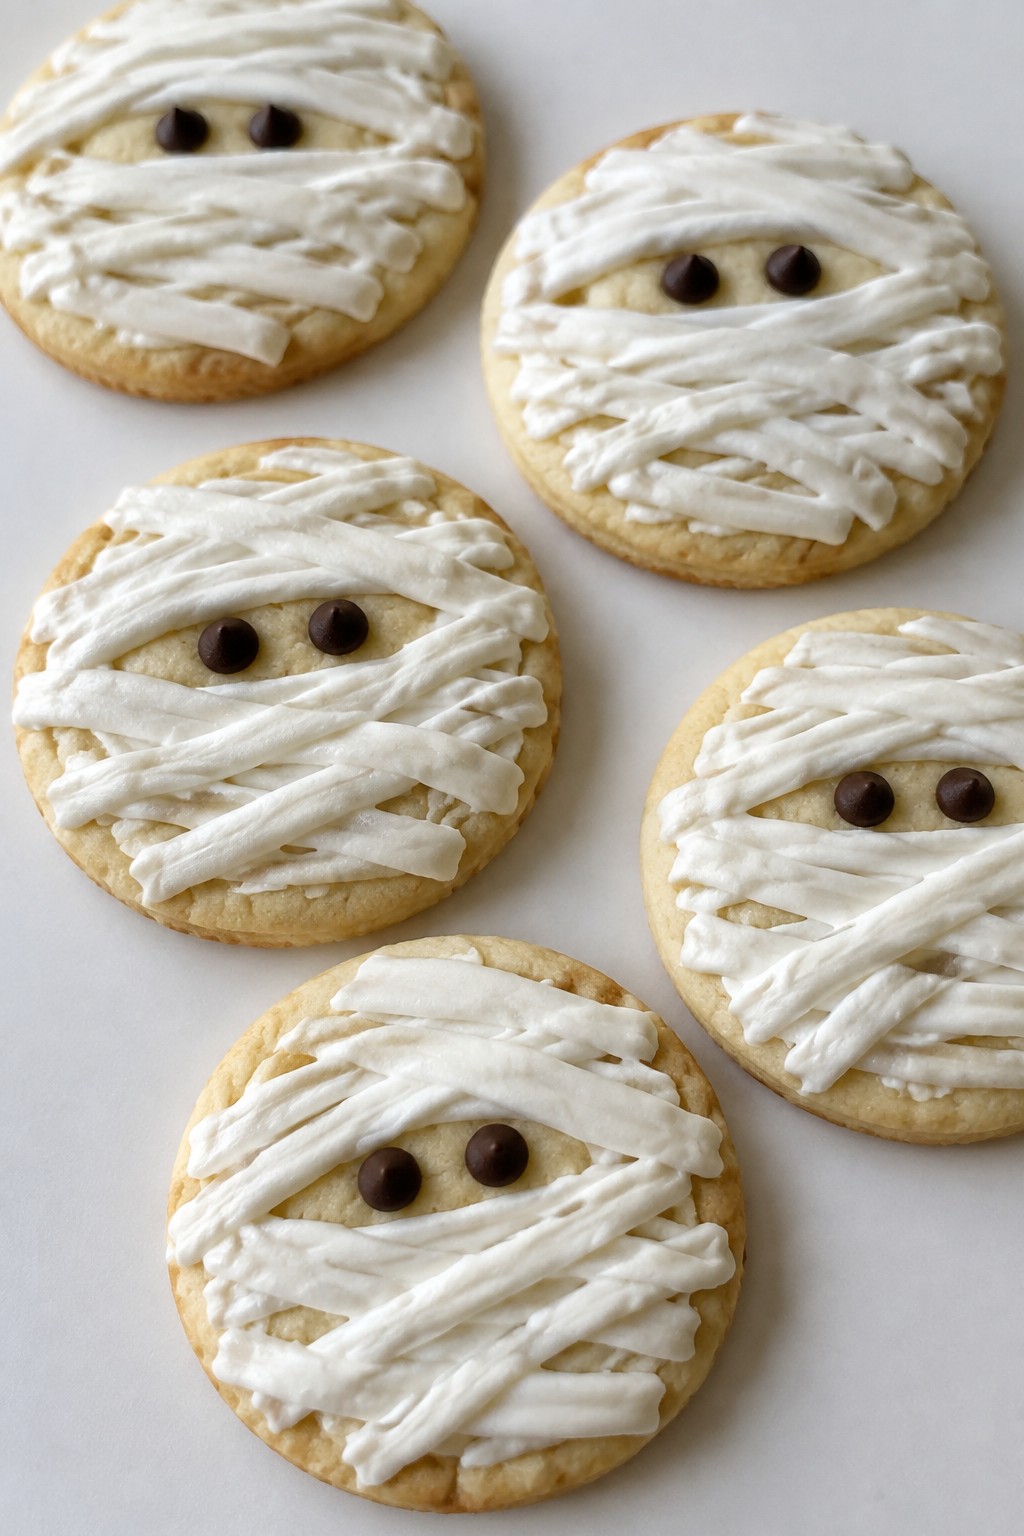
Mummy-Wrapped Sugar Cookies with Bandage Icing
These cookies turn basic sugar dough into a Halloween treat with a wrapped look. The icing is piped in overlapping lines to mimic bandages, making them stand out on a dessert table or in a party spread.
The finished cookies stay soft in the center with lightly crisp edges. The sweet icing sets firm enough to hold the design but does not overpower the vanilla flavor underneath.
Serves 4 people.
Ingredients
- 1 1/4 cups all-purpose flour
- 1/2 cup unsalted butter, softened
- 1/4 cup granulated sugar
- 1 large egg yolk
- 1 teaspoon vanilla extract
- 1/4 teaspoon salt
- 1 cup powdered sugar
- 2 tablespoons milk
- 12 mini chocolate chips
Instructions
- Heat the oven to 350 degrees and line a baking sheet with parchment paper.
- In a mixing bowl, beat the butter and granulated sugar until smooth.
- Add the egg yolk and vanilla extract, then mix until combined.
- Stir in the flour and salt until a soft dough forms.
- Roll the dough to 1/4-inch thickness on a lightly floured surface.
- Cut the dough into 8 rectangles and place them on the baking sheet.
- Bake for 10 to 12 minutes until the edges are lightly golden.
- Cool the cookies completely on the baking sheet.
- Whisk the powdered sugar and milk in a small bowl until smooth.
- Spoon the icing into a piping bag or zip-top bag with one corner snipped.
- Pipe crisscross lines across each cookie to create the bandage effect.
- Press two mini chocolate chips onto each cookie as eyes while the icing is still soft.
Extra Tips
Pipe the icing lines in one direction first, then cross back over them for a more realistic bandage look. Store the cooled cookies in an airtight container at room temperature for up to three days. If the icing feels too thick to pipe, add milk a drop at a time until it flows easily but still holds its shape. Course: Dessert Cuisine: American Equipment: Mixing Bowl, Baking Sheet, Piping Bag
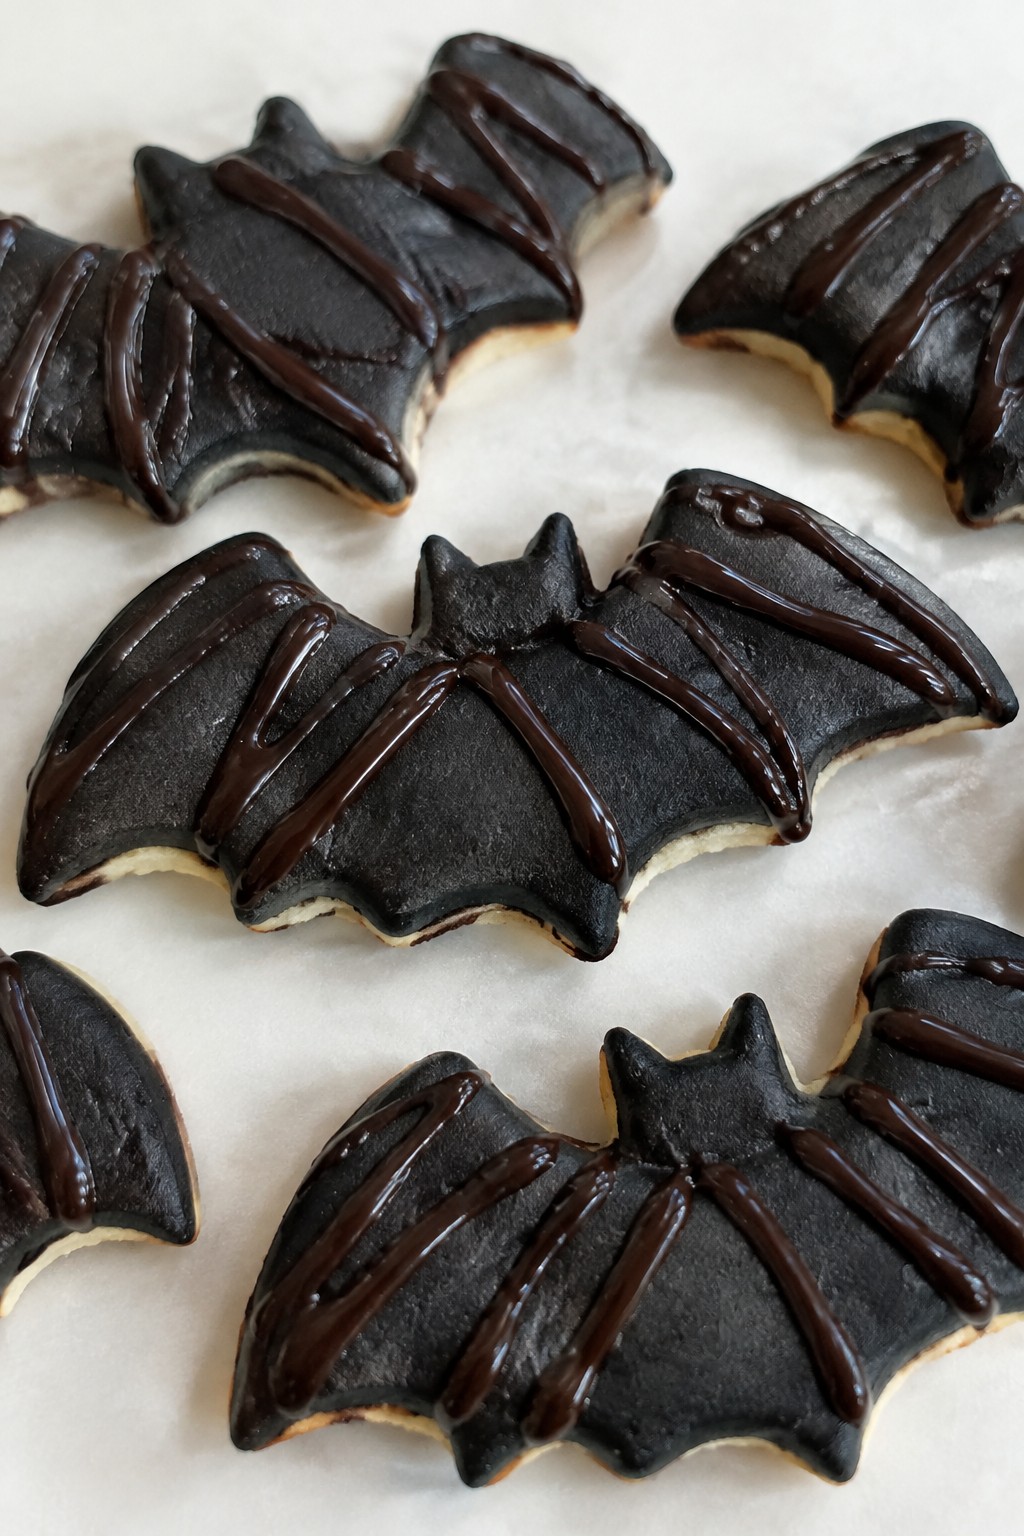
Bat Wing Sugar Cookies with Dark Chocolate Drizzle
These bat wing sugar cookies bring a fun Halloween touch to any cookie tray. The simple sugar cookie base holds its shape well during baking, and the dark chocolate drizzle adds a rich contrast that looks striking against the dark wings. They work well for parties or as an afternoon project with kids.
The cookies taste like classic sweet sugar cookies with a bit of vanilla, while the chocolate brings a smooth, slightly bitter note. The texture stays soft in the center with lightly crisp edges.
Serves 4 people.
Ingredients
- 1 1/2 cups all-purpose flour
- 1/2 teaspoon baking powder
- 1/4 teaspoon salt
- 1/2 cup unsalted butter, softened
- 3/4 cup granulated sugar
- 1 large egg
- 1 teaspoon vanilla extract
- Black gel food coloring
- 4 ounces dark chocolate, chopped
Instructions
- Whisk the flour, baking powder, and salt together in a bowl and set aside.
- In a separate bowl, beat the softened butter and sugar until light and fluffy. Add the egg, vanilla extract, and several drops of black gel food coloring. Mix until the color is even.
- Gradually stir the dry ingredients into the wet mixture until a dough forms. Wrap the dough in plastic and chill for at least 30 minutes.
- Preheat the oven to 350°F and line a baking sheet with parchment paper. Roll the dough to 1/4-inch thickness and cut out bat wing shapes with a cookie cutter.
- Place the cut cookies on the baking sheet and bake for 8 to 10 minutes until the edges are lightly golden. Cool completely on a wire rack.
- Melt the dark chocolate in a microwave-safe bowl in 20-second bursts, stirring between each interval. Drizzle the melted chocolate over the cooled cookies in thin lines to mimic wing details.
Extra Tips
Chill the dough longer if your kitchen is warm to keep the wing shapes sharp. Use a small piping bag or zip-top bag with the corner snipped for neater chocolate lines. Store leftovers in an airtight container at room temperature for up to three days. If the chocolate sets too firmly, warm the cookies slightly before serving.
Course: Dessert Cuisine: American Equipment: Mixing Bowl, Baking Sheet, Parchment Paper, Cookie Cutter, Wire RackSkeleton Bone Sugar Cookies with Silver Edible Dust
These cookies stand out at Halloween gatherings because their bone shape and light silver sheen give them a simple spooky look without extra fuss. They suit cookie decorating sessions with kids or as a quick treat for parties. The texture stays tender inside with slightly crisp edges, and the flavor comes through as mild vanilla with a hint of sweetness.

Serves 4 people.
Ingredients
- 1 cup all-purpose flour
- 1/2 cup unsalted butter, softened
- 1/4 cup granulated sugar
- 1 large egg yolk
- 1 teaspoon vanilla extract
- 1/4 teaspoon salt
- 1/4 teaspoon baking powder
- 1 tablespoon silver edible dust
Instructions
- Preheat the oven to 350 degrees Fahrenheit and line a baking sheet with parchment paper.
- In a mixing bowl, cream the softened butter and granulated sugar until smooth.
- Add the egg yolk and vanilla extract, then stir until combined.
- In a separate bowl, whisk the flour, salt, and baking powder.
- Gradually mix the dry ingredients into the wet mixture until a dough forms.
- Divide the dough into 8 equal pieces and roll each into a short log with small knobs at both ends to form bone shapes.
- Place the shapes on the prepared baking sheet and bake for 10 to 12 minutes until the edges turn lightly golden.
- Remove the cookies from the oven and let them cool completely on the baking sheet.
- Once cool, lightly brush or sprinkle the silver edible dust over each cookie for a subtle sheen.
Extra Tips
Shape the dough while it is still slightly warm from mixing to keep the bone forms clean. Store cooled cookies in an airtight container at room temperature for up to three days. If the dust looks too heavy in spots, gently tap the cookie over a plate to remove excess before serving. Course: Dessert Cuisine: American Equipment: Mixing Bowl, Baking Sheet, Oven
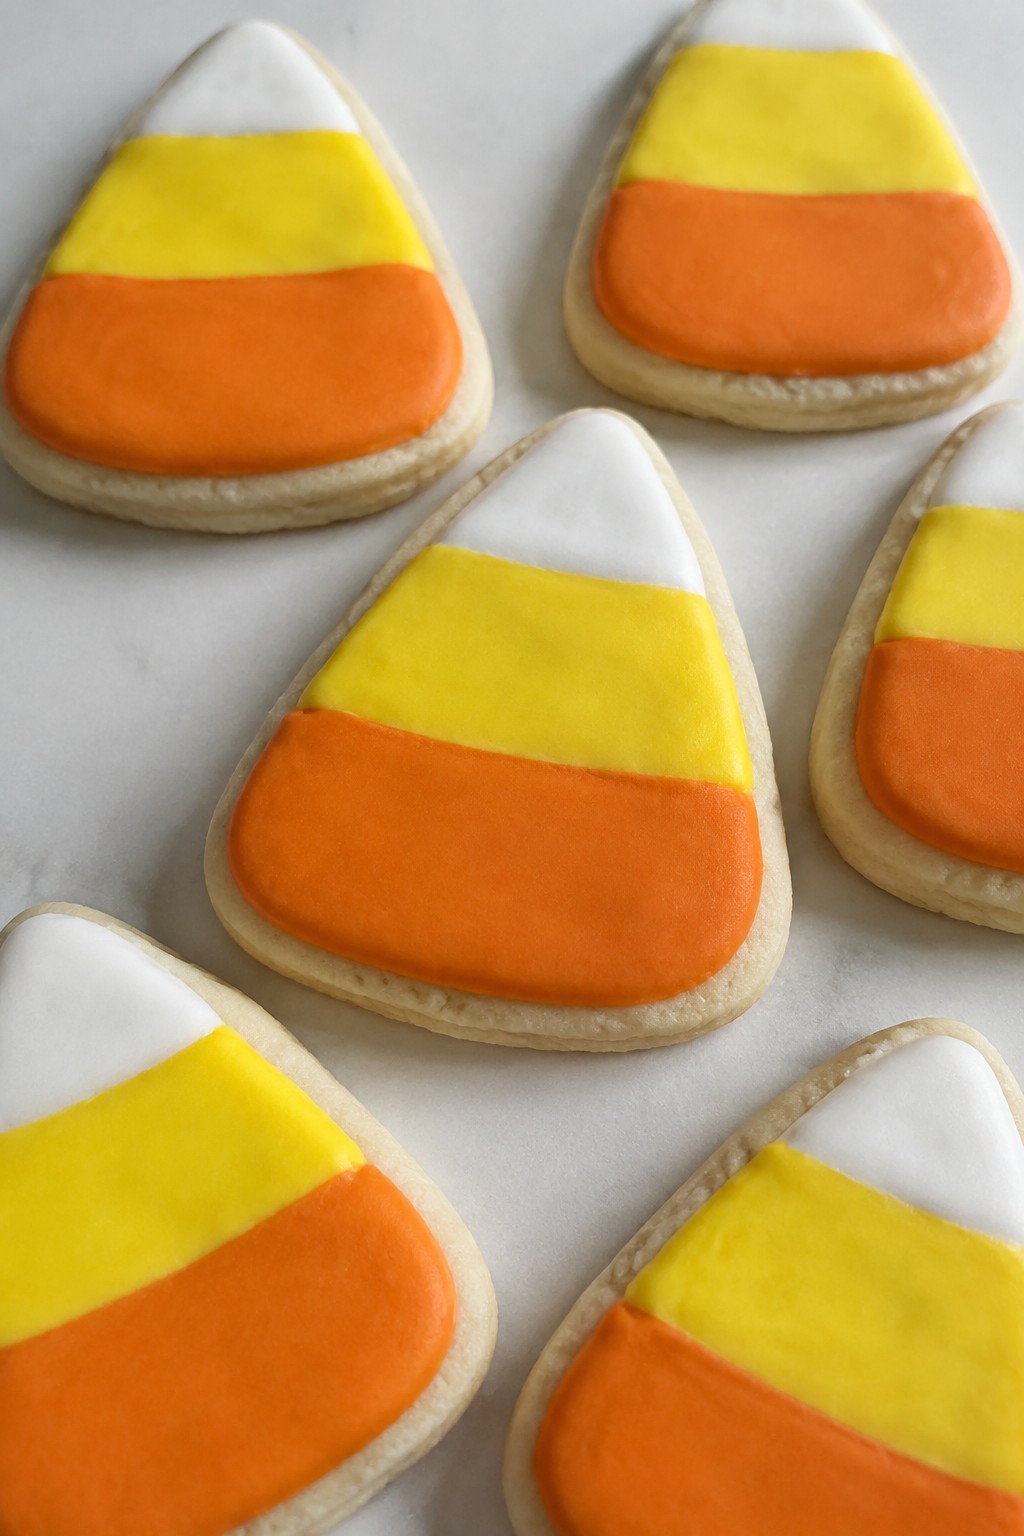
Candy Corn Sugar Cookies with Layered Tri-Color Icing
These cookies stand out at Halloween events because the icing layers recreate the classic candy corn stripes on a simple sugar base. They suit cookie swaps, school parties, or an afternoon project when you want something festive without complicated techniques. The finished treats offer a soft, slightly crisp edge with sweet vanilla flavor and a smooth icing top.
The tri-color design makes each cookie look like a mini candy corn piece, which appeals to both kids and adults. A basic dough keeps the focus on the decoration while still delivering a reliable homemade taste.
Serves 4 people.
Ingredients
- 1 1/4 cups all-purpose flour
- 1/2 cup unsalted butter, softened
- 1/3 cup granulated sugar
- 1 large egg
- 1 teaspoon vanilla extract
- 1/2 teaspoon baking powder
- 1/4 teaspoon salt
- 1 cup powdered sugar
- 3 tablespoons milk
- Yellow gel food coloring
- Orange gel food coloring
Instructions
- Preheat the oven to 350°F and line a baking sheet with parchment paper.
- In a mixing bowl, beat the softened butter and granulated sugar until light. Add the egg and vanilla extract and mix until combined.
- Stir in the flour, baking powder, and salt until a soft dough forms.
- Roll the dough to about 1/4-inch thickness on a lightly floured surface. Cut into small triangles and place them on the prepared baking sheet.
- Bake for 8 to 10 minutes until the edges are lightly golden. Let the cookies cool completely on the sheet.
- In a clean bowl, stir the powdered sugar and milk until smooth. Divide the icing into three portions. Leave one portion white, tint the second yellow, and tint the third orange.
- Transfer each color to a piping bag. On each cooled cookie, pipe a yellow band at the wide base, an orange band in the middle, and a white tip at the narrow end. Let the icing set before serving.
Extra Tips
Pipe the yellow layer first and let it firm slightly before adding the orange band so the colors stay distinct. If the icing feels too thick, add milk a drop at a time; if too thin, add a little more powdered sugar. Store finished cookies in a single layer in an airtight container at room temperature for up to three days. Course: Dessert Cuisine: American Equipment: Mixing Bowl, Baking Sheet, Piping Bags
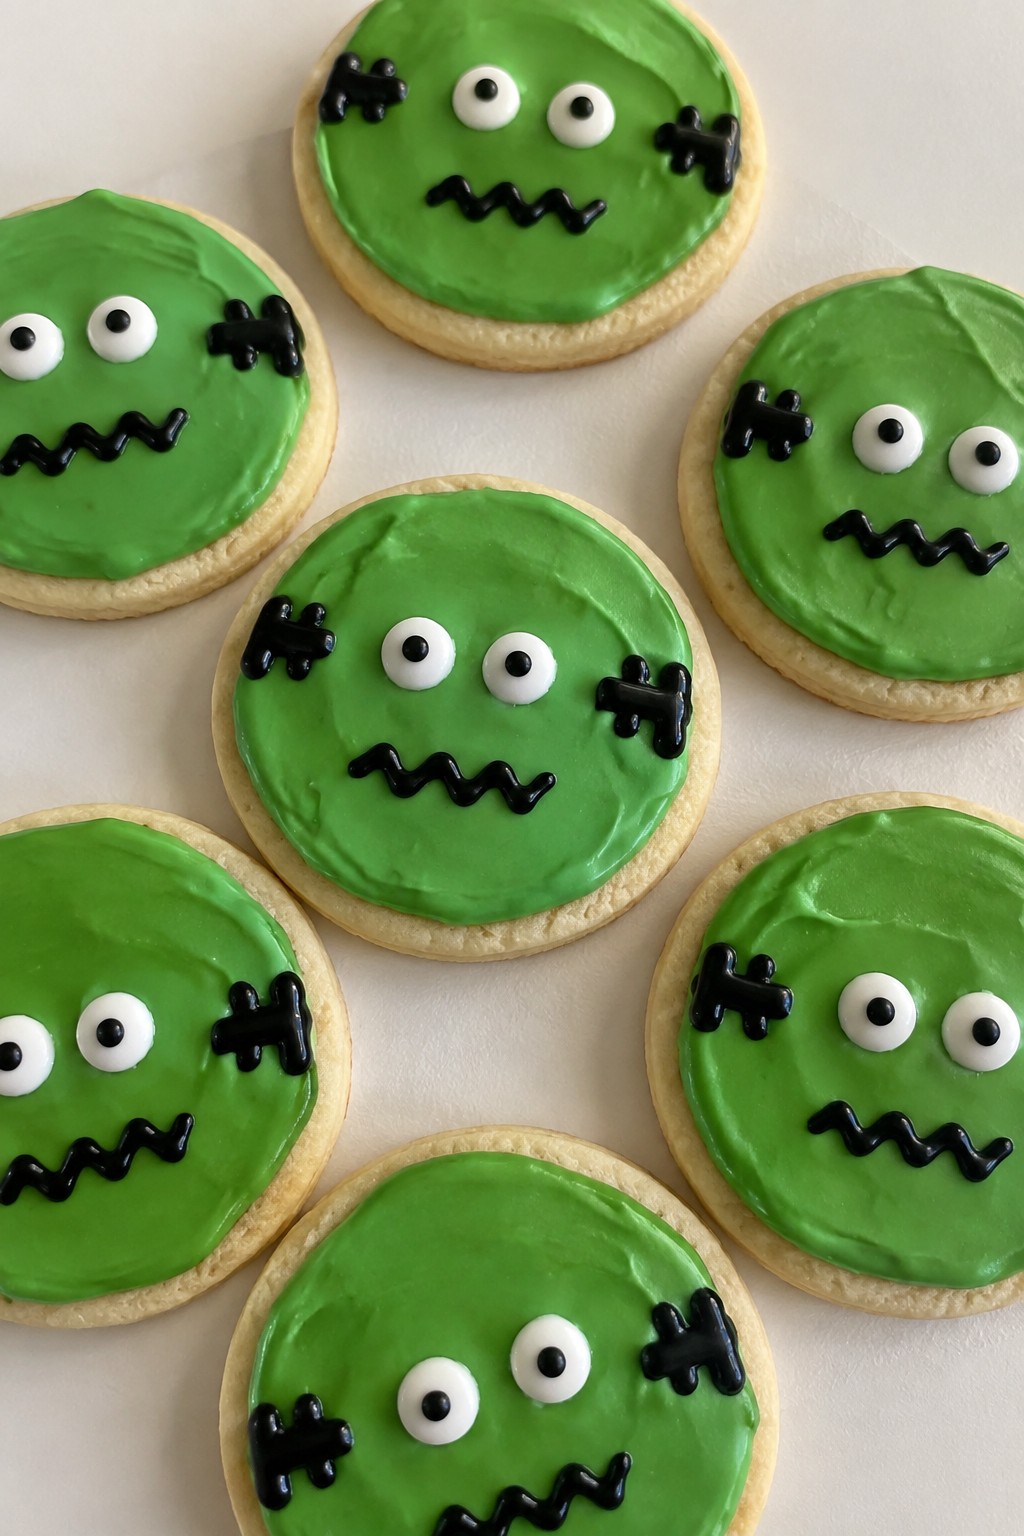
Frankenstein Sugar Cookies with Green Icing and Bolt Details
These cookies turn a basic sugar cookie into a Halloween favorite with bold green icing and simple bolt accents. They work well for an afternoon baking session with kids or as a treat to bring to a party. The base stays soft and lightly sweet while the icing adds a creamy finish.
The flavor stays classic with vanilla notes that balance the sugary topping. Bolt details give each cookie a clear Frankenstein look without extra fuss.
Serves 4 people.
Ingredients
- 1 1/2 cups all-purpose flour
- 1/2 cup unsalted butter, softened
- 1/2 cup granulated sugar
- 1 large egg
- 1 teaspoon vanilla extract
- 1/2 teaspoon baking powder
- 1/4 teaspoon salt
- 2 cups powdered sugar
- 3 tablespoons milk
- Green food coloring
- Black gel icing
Instructions
- Preheat the oven to 350 degrees and line a baking sheet with parchment paper.
- In a mixing bowl, whisk together the flour, baking powder, and salt. Set aside.
- In a second bowl, cream the butter and granulated sugar until light. Add the egg and vanilla extract, then mix until smooth.
- Stir the dry ingredients into the wet mixture until a dough forms. Roll the dough to 1/4-inch thickness and cut into rectangles or use a simple face-shaped cutter. Place the shapes on the baking sheet.
- Bake for 8 to 10 minutes until the edges turn lightly golden. Cool the cookies completely on a wire rack.
- In a clean bowl, stir the powdered sugar with the milk until smooth. Add green food coloring a drop at a time until the icing reaches the desired shade.
- Spread the green icing over each cooled cookie. Once the icing sets, use the black gel icing to pipe two small bolts on either side of the lower face area.
Extra Tips
Pipe the black gel lines after the green icing has dried for at least 30 minutes so the bolts stay sharp. If the dough feels too soft to cut, chill it for 15 minutes before rolling. Store finished cookies in a single layer to keep the icing smooth. Course: Dessert Cuisine: American Equipment: Mixing Bowl, Baking Sheet, Piping Bag
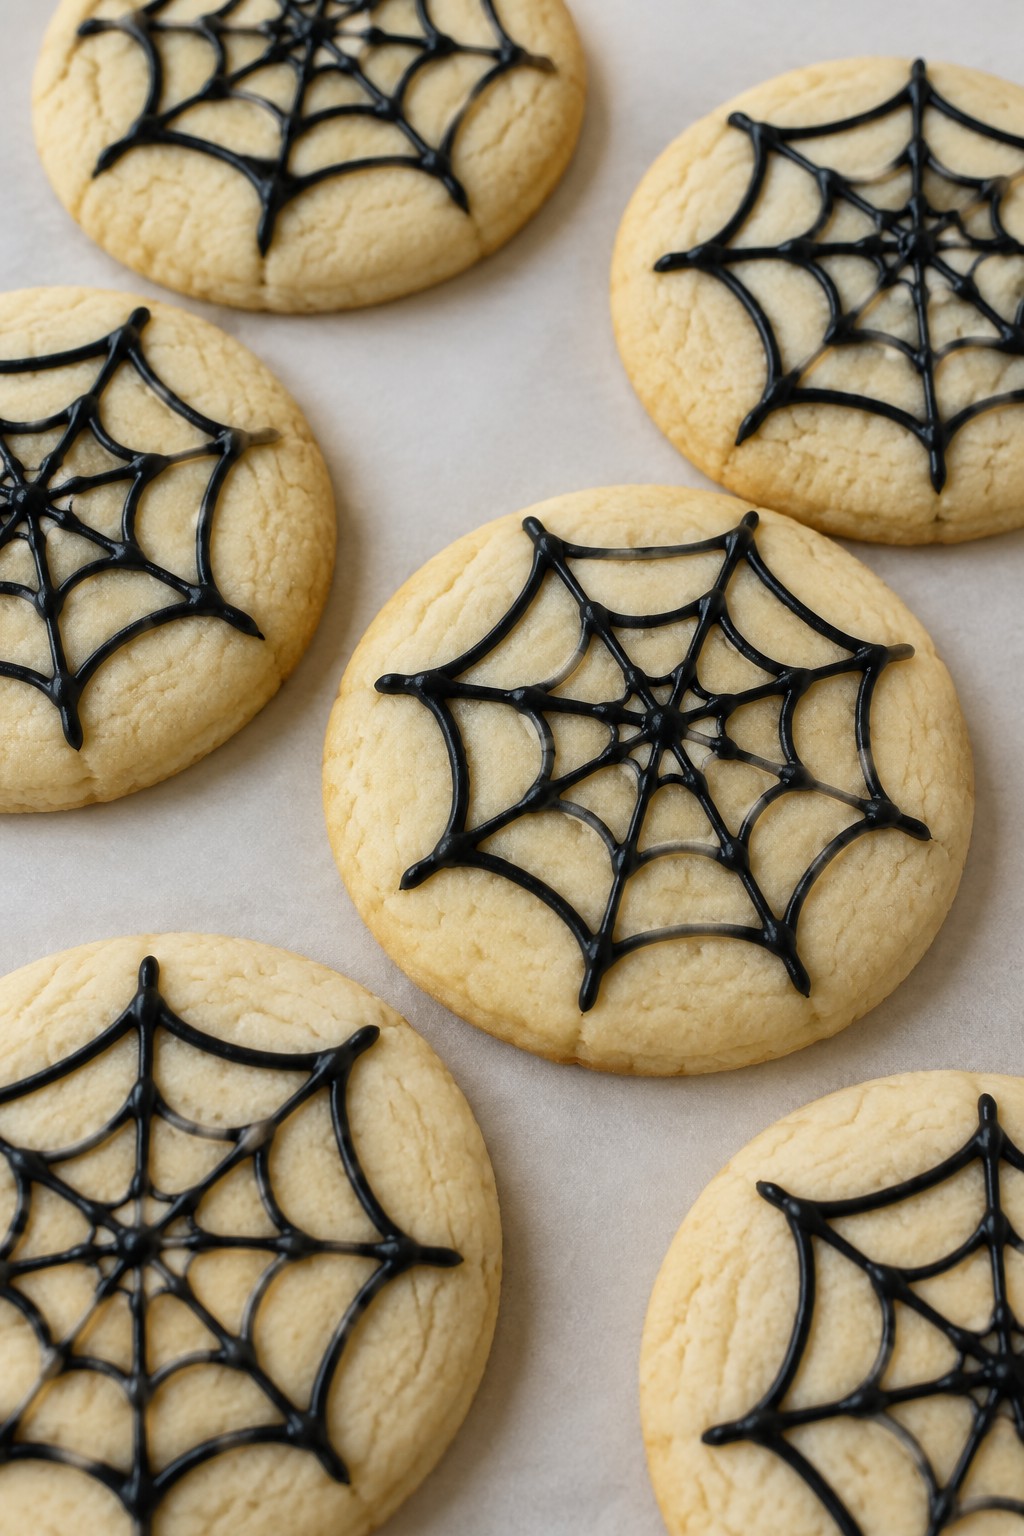
Spiderweb Sugar Cookies with Black Icing Piping
These cookies bring a simple Halloween touch to any cookie swap or party table. The black piped icing creates a clear spiderweb pattern that stands out against the pale cookie base, making them easy to arrange with other decorated treats.
The finished cookies have a crisp edge and soft center with a mild vanilla flavor. The icing sets firm enough to stack lightly but still tastes sweet without overpowering the cookie.
Serves 4 people.
Ingredients
- 1 cup all-purpose flour
- 1/4 cup granulated sugar
- 1/4 cup unsalted butter, softened
- 1 large egg yolk
- 1 teaspoon vanilla extract
- 1/4 teaspoon baking powder
- 1/4 teaspoon salt
- 3/4 cup powdered sugar
- 2 tablespoons milk
- Black food coloring
- 8 toothpicks
Instructions
- Heat the oven to 350°F and line a baking sheet with parchment paper.
- In a mixing bowl, beat the softened butter and granulated sugar until smooth. Add the egg yolk and vanilla extract, then mix again.
- Stir in the flour, baking powder, and salt until a soft dough forms. Shape the dough into a disk, wrap it, and chill for 20 minutes.
- Roll the dough to 1/4-inch thickness on a lightly floured surface. Cut out 8 circles with a 2-inch cutter and place them on the prepared baking sheet.
- Bake for 10 minutes until the edges are lightly golden. Cool the cookies completely on a wire rack.
- In a small bowl, whisk the powdered sugar and milk until smooth. Add black food coloring a drop at a time until the icing is deep black.
- Spoon the black icing into a piping bag fitted with a small round tip. Pipe three concentric circles on each cookie.
- Immediately drag a toothpick from the center outward through the circles to form the spiderweb lines. Let the icing set before serving.
Extra Tips
Pipe the icing while the cookies are fully cool so the lines stay sharp. If the icing feels too thick for clean piping, add milk one drop at a time. Store finished cookies in a single layer in an airtight container at room temperature for up to three days. Course: Dessert Cuisine: American Equipment: Mixing Bowl, Baking Sheet, Piping Bag, Toothpicks
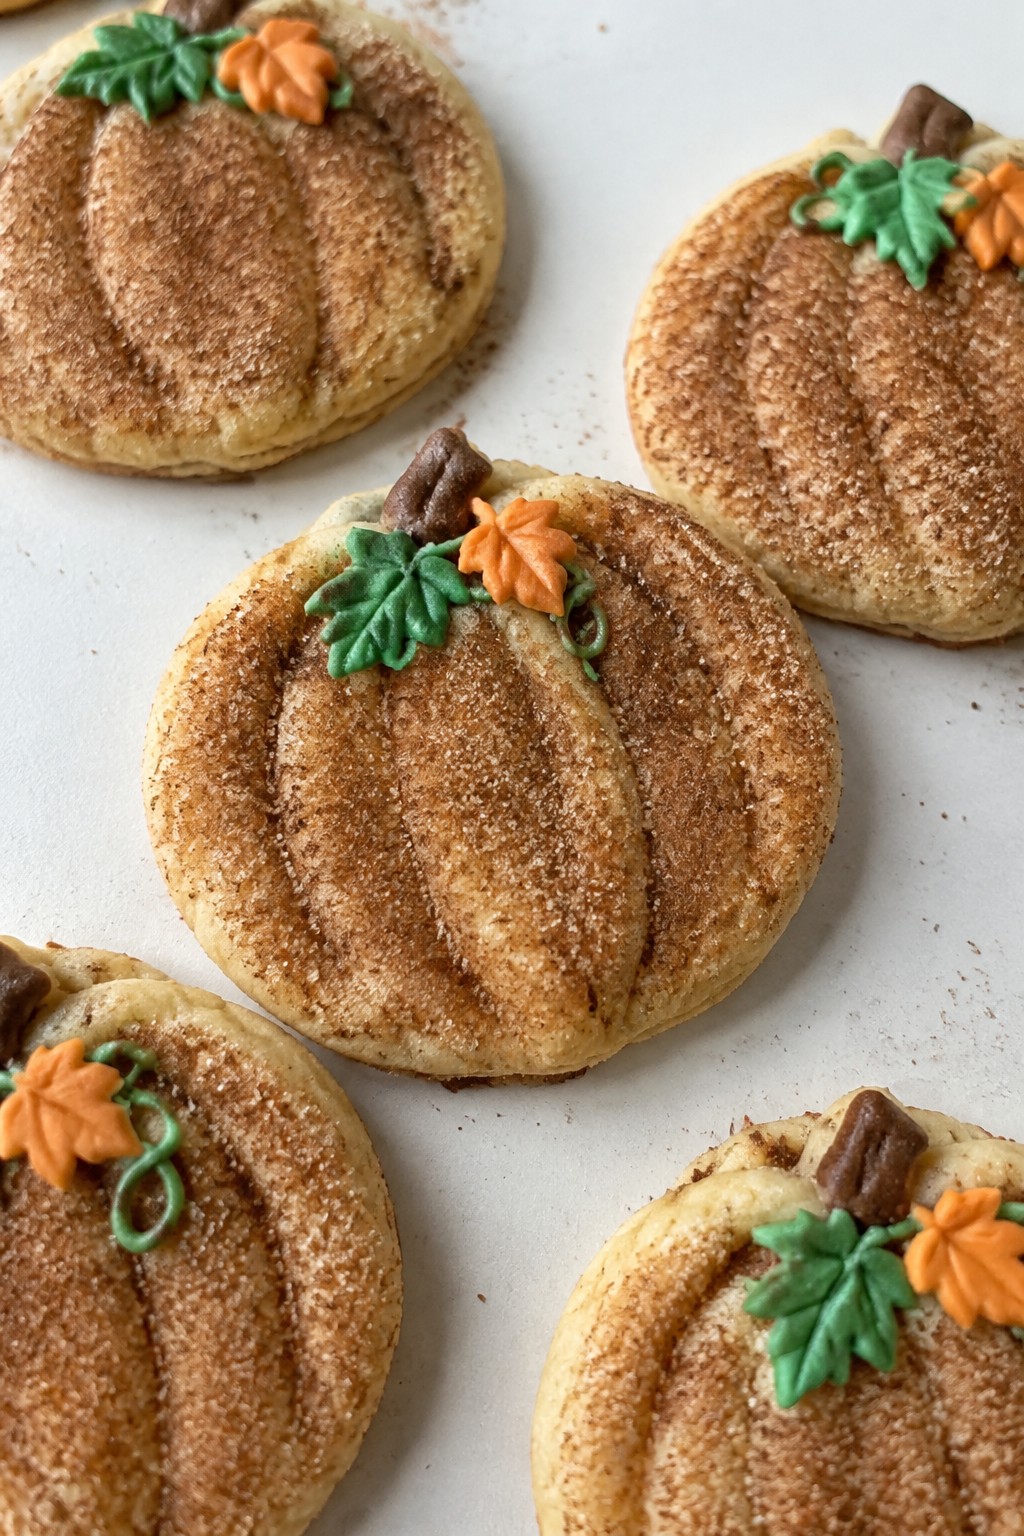
Pumpkin Patch Sugar Cookies with Cinnamon-Sugar Tops and Leaf Icing
These cookies bring a simple fall touch to Halloween baking with their warm cinnamon coating and small leaf designs on top. They work well for an afternoon project with kids or as a batch to share at a party. The base stays soft with a light crunch from the spiced sugar, while the icing adds a gentle sweetness without overwhelming the cookie.
The cinnamon-sugar layer gives a cozy flavor that pairs nicely with the plain sugar cookie dough, and the leaf icing keeps the decorating quick and seasonal.
Serves 4 people.
Ingredients
- 1 1/2 cups all-purpose flour
- 1/2 teaspoon baking powder
- 1/4 teaspoon salt
- 1/2 cup unsalted butter, softened
- 1/2 cup granulated sugar
- 1 large egg
- 1 teaspoon vanilla extract
- 2 tablespoons ground cinnamon
- 1/4 cup granulated sugar
- 1 cup powdered sugar
- 2 tablespoons milk
- Green food coloring
- Orange food coloring
Instructions
- Heat the oven to 350 degrees and line a baking sheet with parchment paper.
- Stir together the flour, baking powder, and salt in a bowl. Set the bowl aside.
- Beat the butter and 1/2 cup granulated sugar until smooth. Add the egg and vanilla extract, then mix until combined.
- Gradually add the dry ingredients to the wet mixture and stir until a dough forms.
- Roll the dough into small balls, flatten each slightly, and place them on the baking sheet.
- Mix the ground cinnamon with the remaining 1/4 cup granulated sugar. Sprinkle this mixture evenly over the tops of the cookies.
- Bake for 10 to 12 minutes until the edges turn light golden. Let the cookies cool on the sheet for a few minutes before moving them to a rack.
- Whisk the powdered sugar and milk until smooth. Divide the icing into two small bowls and tint one green and one orange with the food coloring.
- Spoon the colored icings into piping bags or small zip-top bags with a corner snipped off. Pipe simple leaf shapes onto each cooled cookie.
Extra Tips
Press the cinnamon-sugar firmly onto the dough before baking so it stays in place after cooling. Thin the icing with a few extra drops of milk if it feels too thick to pipe clean lines. Store the finished cookies in a single layer in an airtight container to keep the icing from smearing. Course: Dessert Cuisine: American Equipment: Mixing Bowl, Baking Sheet, Piping Bag
