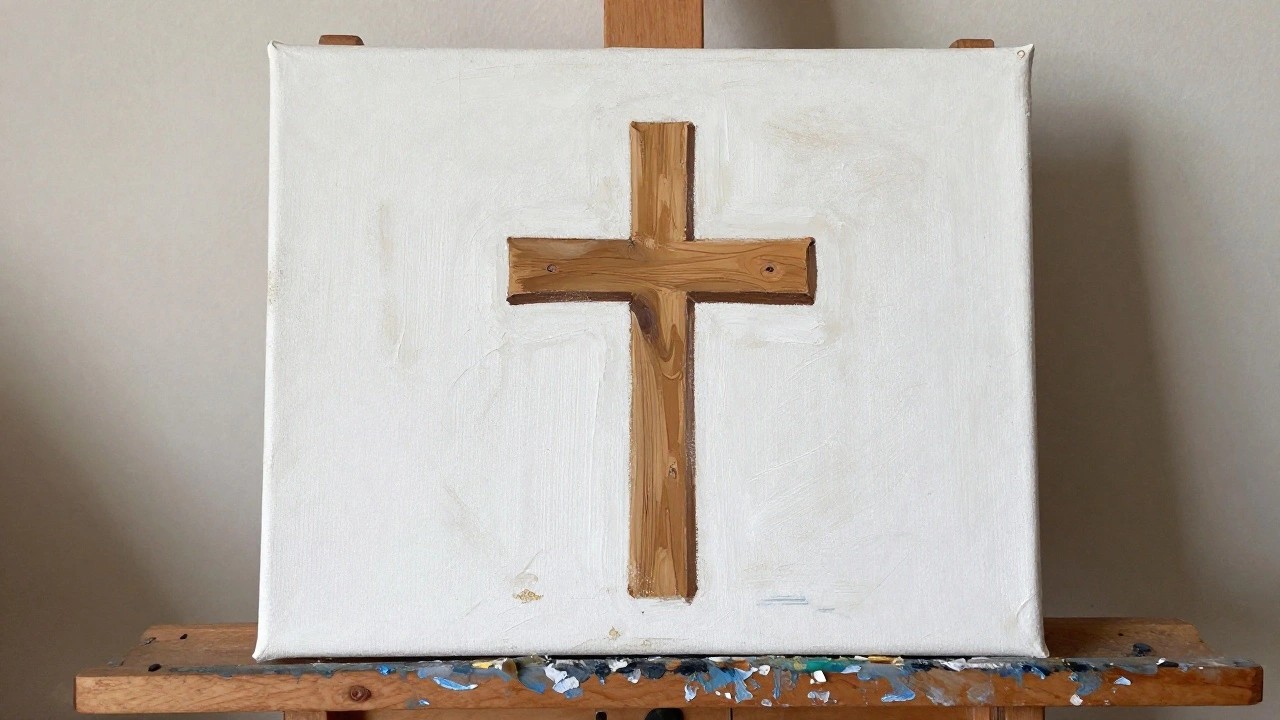
I have painted quite a few wooden crosses over the years and rustic finishes are my go to choice.
They give the pieces a simple aged look that works well with the material.
I tried out various methods and picked the ones that felt the most practical.
These ideas are based on what I have done myself and they do not need anything fancy.
You can probably adapt them with whatever paint you already have on hand.
Centered Wooden Cross with Visible Grain
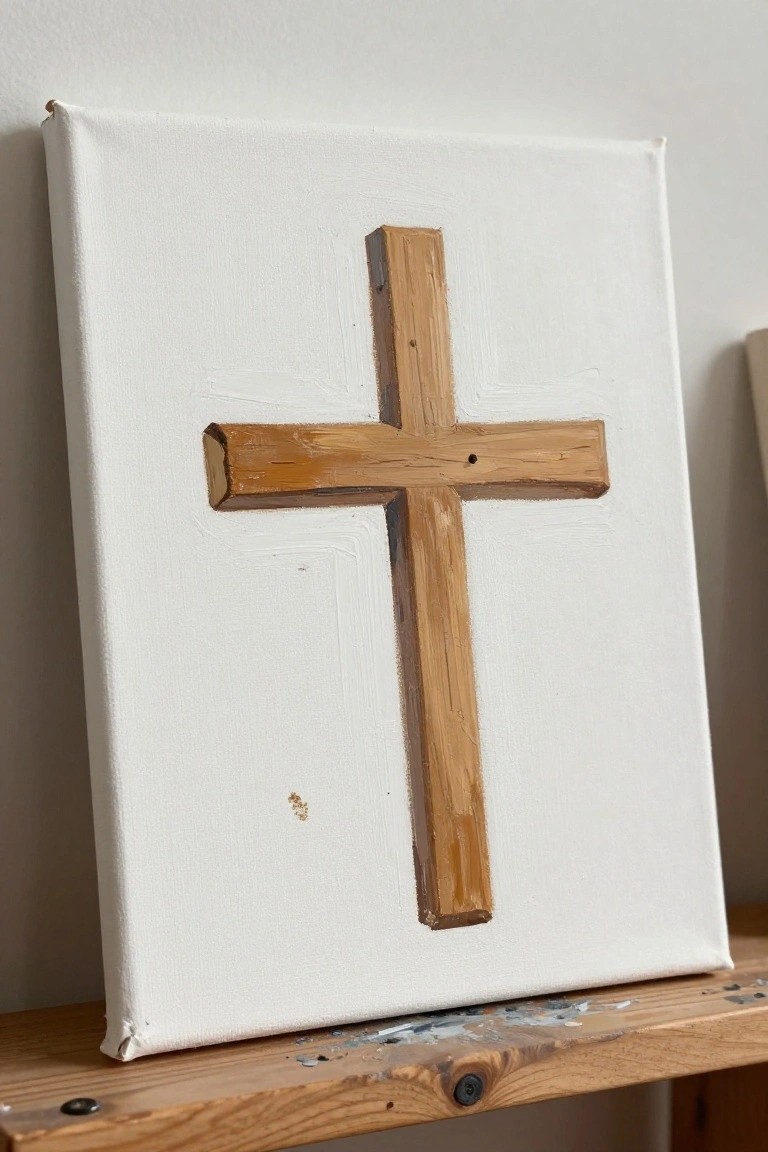
A wooden cross painted in layered brown tones sits centered on a plain white canvas. The idea relies on simple brushwork to suggest wood grain and slight shadows along the edges of the beams, letting the cross stand alone without any background details or extra elements. This approach fits decorative art where the focus stays on capturing the texture and shape of the wood itself.
The composition does a lot of the work here because the centered placement and high contrast keep the eye on the cross without needing additional objects or patterns. You could adapt the idea by switching to cooler or warmer brown mixes or by painting the cross slightly off-center on a larger canvas. For practice, this kind of subject works well as a quick study in texture and basic shading. The same layout could also be scaled down for smaller canvases or repeated in a set with minor color shifts.
Weathered Cross with Loose Color Washes

A rustic wooden cross painted with visible grain, knots, and uneven brown tones forms the main subject. The idea uses simple plank shapes and soft blue-green washes around the edges to keep the focus on the wood texture. This fits into decorative art because the clean cross shape pairs easily with minimal background color.
What makes this idea useful is how the wood details can be practiced on their own before adding any color. The washes around the cross are simple to adjust in hue or size if you want a different look for a specific wall or season. For wall art, the straightforward layout works at multiple scales without needing extra elements. The same approach could be tried with different wood tones or a narrower background strip to change the overall feel.
Sunflower Clusters on a Rustic Brown Cross
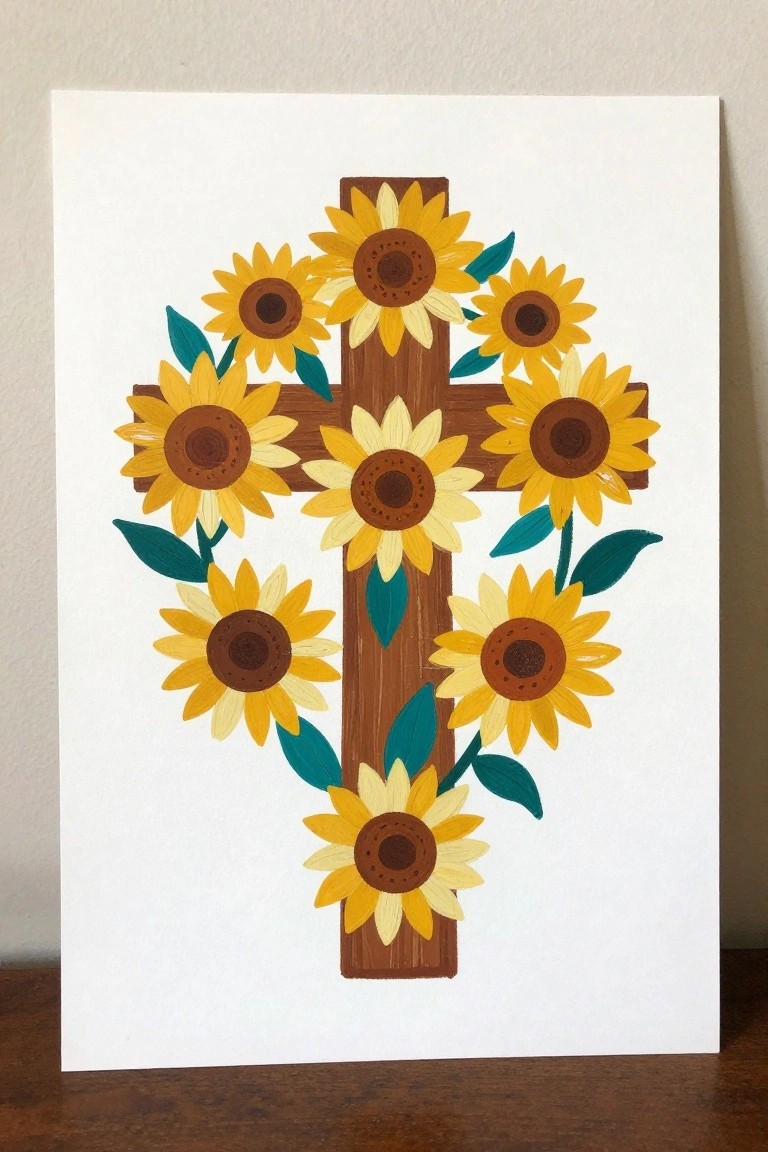
A wooden cross with a simple brown finish serves as the base while bright yellow sunflowers with brown centers are painted to follow the shape of the arms and stem. Green leaves fill in the spaces between the flowers to keep the arrangement balanced and connected. The layout stays effective because the flowers sit close to the cross edges rather than floating far away.
What makes this idea useful is how the cross itself guides where the flowers go so you do not need to invent a new layout. You can shrink the whole thing for a smaller board or change the yellow to softer tones if you want a different season. The brown cross keeps the design grounded which makes it easy to try on scrap wood first before committing to a finished piece.
Mixed Finish Cross Arrangement

Three crosses painted side by side with distinct rustic finishes form a straightforward decorative piece. One cross uses a chipped blue paint, the middle one a solid white coat, and the right one a natural wood tone that keeps the grain visible. The even spacing and plain background let the different textures and colors create contrast without extra detail.
What makes this idea useful is how it displays several rustic paint techniques in one quick layout. You can change the colors or swap the order to match existing decor. For wall art, something like this works well on a medium canvas and translates easily to wood planks if you want a different surface. The simple shapes also let beginners focus on finish variations instead of complex drawing.
Bundled Twig Cross with Rope Accent

A rustic cross built from layered wooden sticks offers a straightforward way to explore texture and color variation on a simple shape. The idea centers on stacking short pieces to form the arms and stem, then adding streaks of brown, orange, teal, and black to suggest weathered wood grain. A natural twine bow tied at the center adds a focal point without complicating the overall layout.
What makes this idea useful is how the stacked sticks create built-in texture that guides the brushwork. The limited color palette stays easy to mix and repeat on future pieces. For wall art, the vertical format fits standard canvas sizes and leaves room to adjust the rope thickness or add subtle shading at the base. The same structure can be scaled down for greeting cards or kept large for a focal piece.
Rustic Wooden Cross with Floral Base

A weathered wooden cross serves as the main subject here, with a cluster of pink and white flowers plus soft green foliage painted at the bottom to create visual balance. The idea combines a strong vertical shape with loose floral elements so the cross remains the focus while the blooms add natural contrast and color. This fits the decorative art category, using a muted background wash to let the cross and flowers stand out without competing details.
What makes this idea useful is how easily the flower colors and leaf shapes can be swapped to match different seasons or room styles. The simple layout leaves room to scale the cross larger for wall pieces or shrink it for cards. For practice, this kind of subject helps build texture work on the wood grain while keeping the overall composition straightforward to finish in one session.
Red Cross with Pine Sprigs

A wooden cross painted in solid red with brown ends on each arm forms the main shape. Short pine branches rest across the top of the horizontal bar to add a seasonal detail. The plain white background makes the red stand out while keeping the overall layout balanced and easy to read from a distance.
What makes this idea useful is how the cross can be resized or recolored to fit different wall spaces or holiday themes. The pine branches can be swapped for other greenery or skipped entirely for a cleaner look year-round. This layout works well for quick seasonal decor because the main shapes stay simple and the color contrast does most of the visual work.
Striped Cross with Warm Color Bands

A cross painted with repeating vertical stripes in shades of orange, peach, and soft yellow creates a simple patterned finish that follows the shape of each arm. The horizontal bar uses the same color sequence as the vertical stem, while small dark dots mark the ends of every section to give the design clear boundaries. This approach works as decorative art that relies on color repetition and basic geometry rather than complex details.
The straight edges of a wooden cross make the stripes easy to mask and paint without much measuring. You can swap the warm palette for cooler tones or leftover paint scraps, and the same layout scales down for smaller pieces or up for larger wall art. The bold bands also photograph clearly, which helps when pinning variations for future reference.
Wooden Cross with Natural Grain on Blue Watercolor

A single wooden cross with visible grain lines forms the entire subject against a deep blue watercolor wash that varies in intensity. The cross sits centered with its arms extending evenly, letting the natural wood texture serve as the main detail while the background supplies contrast through soft blending and a few scattered dots. This setup works as straightforward decorative art that relies on the material finish rather than added elements or patterns.
The composition does a lot of the work here by staying minimal and centered. You could change the background color or try a lighter or darker wood tone to fit different rooms. For wall pieces this approach scales easily to smaller or larger sizes and stays quick to paint once the cross shape is laid in.
Heart-Shaped Floral Cross with Twine Ties

A wooden cross acts as the central support for a heart-shaped cluster of flowers in this decorative painting idea. Bright blooms in coral, yellow, orange, and peach fill the space around the post, while the twine wraps at top and bottom keep the rustic wood visible. The arrangement uses the cross itself to anchor the heart shape and balance the color.
The composition does a lot of the work here by letting the cross guide where the flowers go. You can swap the palette for cooler tones or shrink the heart for a smaller canvas without losing the effect. This kind of piece works especially well for wall decor because the contrast between the wood and flowers makes it readable from a distance.
Distressed Cross with Cracked Finish
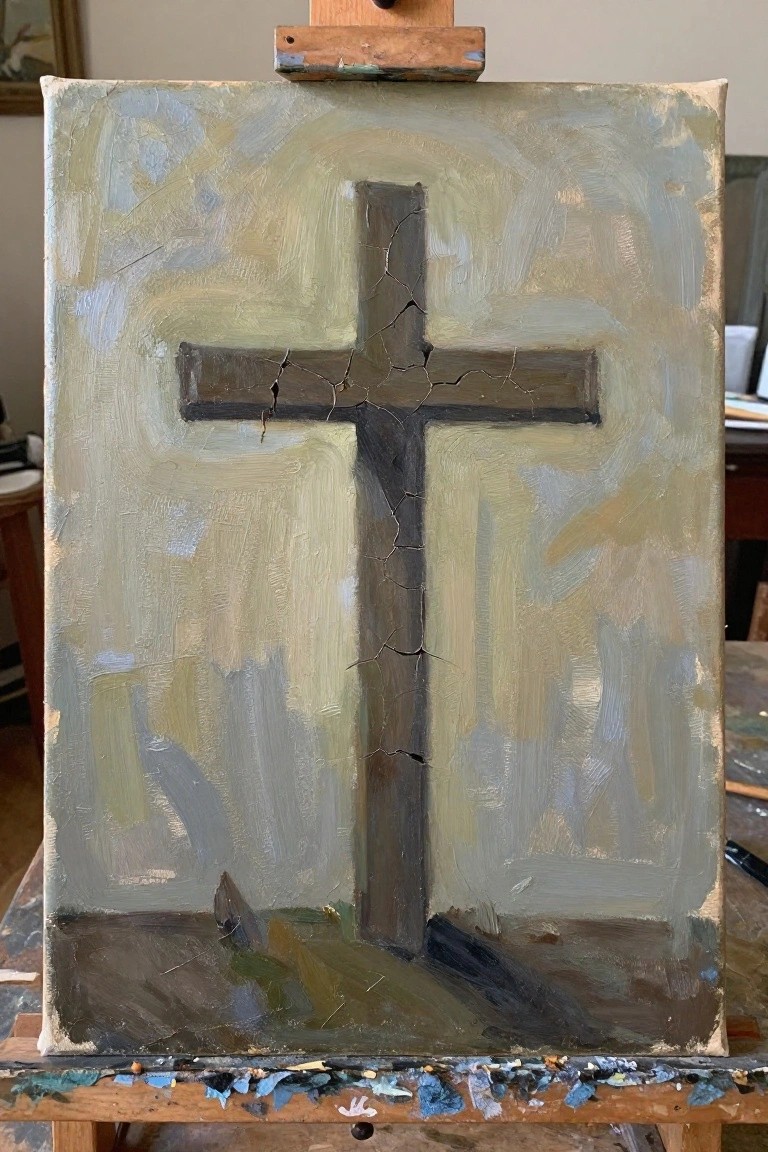
A rustic cross painting idea uses a heavily cracked dark finish on the cross shape to create texture and age against a soft, blended background of greens and grays. The composition keeps the cross centered and vertical, with a simple darker base at the bottom to ground it without adding extra elements. This approach fits into decorative art that relies on finish and contrast rather than detailed scenes or multiple objects.
What makes this idea useful is how the cracked texture carries the visual weight, so you do not need precise shading or highlights. The neutral background makes it easy to adapt the colors to match different rooms or try warmer earth tones if you want a different mood. For wall art, something like this works well on a medium canvas or even a wood panel, and you can simplify it further by using fewer crackle layers or a solid background instead.
Distressed Turquoise Cross with Hope Banner

A wooden cross finished in layered turquoise paint with intentional rust and wear marks forms the main subject. The cross sits centered on a canvas that has a light beige wash over white, and a horizontal banner across the middle carries the word hope in dark cursive. The simple layout and textured paint layers give the piece a clear focal point while keeping the overall design balanced and easy to read from a distance.
What makes this idea useful is the straightforward cross shape paired with a single accent color that can be swapped for other shades without changing the layout. The background wash adds subtle depth but stays neutral so the cross remains the focus, which makes the same approach easy to scale up or down for different wall spaces. You could replace the banner text with a short name or date to turn it into a gift. The limited palette also gives beginners a good way to practice dry brushing and distressing on a forgiving subject before trying more complex designs.
Mixed Wood Tone Cross with Visible Hardware
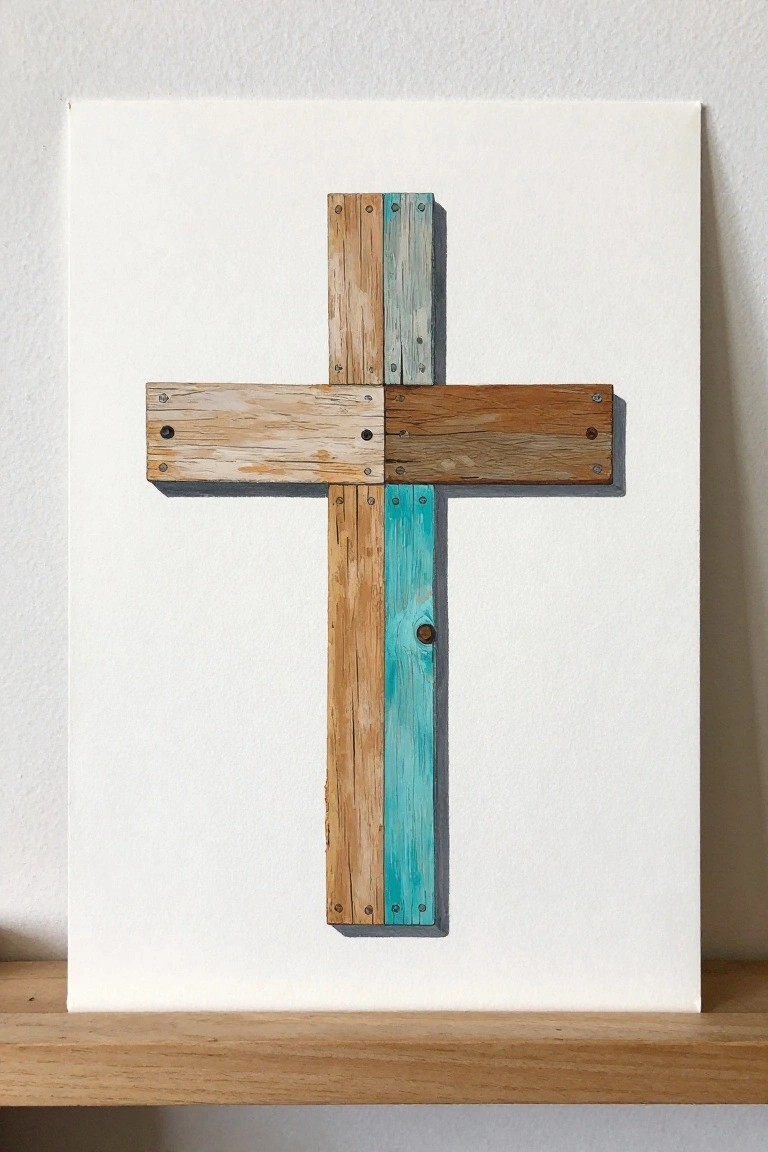
Painting a cross from separate planks lets you combine several rustic finishes in one piece, like natural browns next to bright turquoise washes. The screws and slight overlaps create depth without needing complex shading or extra details. This style lands in decorative art because the focus stays on texture and material contrast rather than any scene or subject.
What makes this idea useful is how easily the color blocks can be swapped for whatever stains or paints you already have. The straightforward cross layout works on a small canvas for quick practice or scaled up for a statement wall piece. You could simplify it further by using just two tones or add more variety by distressing some planks more than others. The clean white background keeps the attention on the wood effects, which helps the finished piece photograph well for sharing.
Weathered Cross with Loose Blue Wash Backing

A wooden cross painted with visible grain, cracks, and brown tones forms the main subject, placed over soft blue watercolor washes that create a simple sky-like backdrop while thin grass strokes anchor the base. This approach works as decorative symbolic art where the focus stays on texture and shape rather than fine detail. The off-center blue washes and minimal bottom elements keep the composition balanced without crowding the cross itself.
What makes this idea useful is how the blue wash handles most of the background work, leaving room to practice wood texture on the cross alone. The layout adapts easily by swapping the blue for other muted tones or shrinking the grass to a few lines if you want a cleaner version. For wall pieces or quick gifts, the vertical format and limited color range make it straightforward to repeat on different paper sizes.
Rustic Cross with Textured Brown Layers

A single cross painted in multiple brown shades creates a simple wooden look through visible brush strokes and slight color variations. The centered placement on a light background keeps the shape dominant while the textured application suggests wood without extra detailing. This fits the decorative art category where the finish and form carry the idea.
The composition works well because the large shape fills the space without needing additional elements. You can adjust the brown tones to match different wood finishes or scale the canvas size for different wall spaces. For beginners this stays approachable since it relies on blocking in one main shape and building texture rather than precise lines. The same idea adapts easily by changing the background color or adding a second thin layer for more depth.
Rustic Cross from Tied Wooden Branches
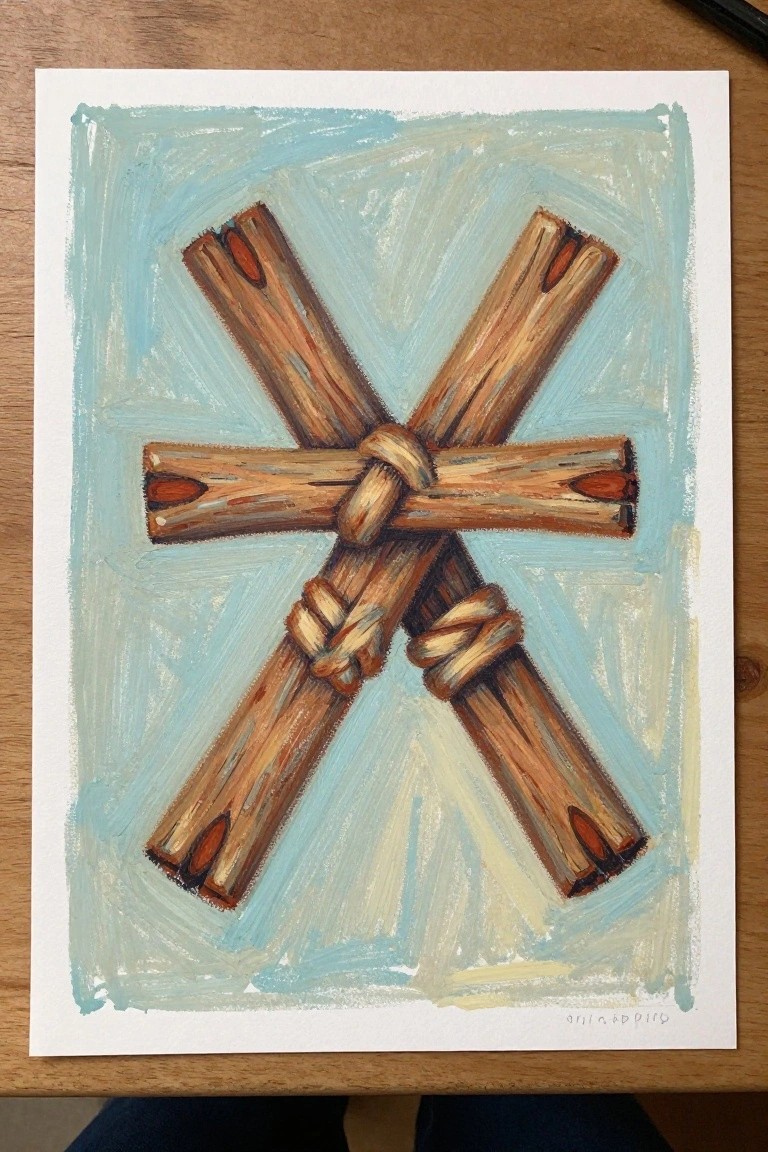
A crossed arrangement of cut wooden branches creates an X-shaped cross, with the pieces bound together at the intersections using visible rope or twine wraps. The idea centers on letting the natural shapes and cut ends of the sticks provide the main visual interest while the soft blue background keeps the focus on the form. This approach fits decorative art that turns simple gathered materials into a balanced, symmetrical piece.
What makes this idea useful is how the basic crossed layout stays straightforward to sketch even when you change the branch lengths or angles slightly. The color palette makes this easy to adapt by shifting the background wash to other muted tones or keeping it white for a cleaner look. For wall art, something like this works especially well because the tied sections add texture that reads clearly from a distance without requiring detailed brushwork.
Moonlit Cross Silhouette Over a Dark Hill

A wooden cross silhouette set against a large full moon forms a clean night landscape idea. The cross sits centered on a dark hill that fills the lower third of the canvas, while the moon takes up most of the sky in pale yellow with visible brush marks. Simple blue tones and soft cloud shapes in the background keep the eye on the bold black shape without adding extra elements.
The composition does a lot of the work here by using strong contrast between the dark cross and the bright moon. You can swap the hill for a flatter base or adjust the sky colors to match a room without changing the main idea. This approach works well for quick practice pieces or small wall art because the shapes stay large and the details stay minimal.
Floral Cross with Layered Pastel Blooms and Gold Details

A painted cross covered in repeating flower shapes uses a soft mix of pink, green, and cream to create a balanced decorative design. The large central bloom sits at the intersection while smaller flowers and leaves fill the arms and stem, with gold accents added along the edges and centers. This layout keeps the cross shape clear while the floral pattern adds interest without crowding the surface.
What makes this idea useful is how the flowers follow the cross form, so you can easily repeat sections or shrink the whole design for smaller wood pieces. The color choices adapt well to rustic finishes if you tone down the pastels or let some wood grain show through the paint. For wall art, something like this works on a vertical plank where the gold highlights catch light and keep the piece from looking flat. You could simplify it further by using just the bottom flower cluster on a plain cross if you want a quicker version.
Frequently Asked Questions
What supplies are needed for creating rustic paint finishes on wooden crosses?
To get started with rustic wooden cross painting, gather unfinished wooden crosses, sandpaper in various grits, acrylic or chalk paints in earth tones like browns and grays, crackle medium for texture, rags for wiping, and a matte sealant. Add tools such as brushes, sponges, and stencils if you want to incorporate patterns from the creative ideas. These items allow you to experiment with the 19 suggested finishes without much expense.
How should I prepare a wooden cross before applying rustic paint finishes?
Begin by sanding the cross lightly to remove any rough spots and create a smooth base that helps paint adhere better. Wipe away all dust with a damp cloth and let it dry completely. If the wood is new or sealed, apply a primer designed for wood to prevent uneven absorption. This step ensures the rustic effects like distressing or layering turn out evenly across all the project ideas.
What techniques work best for achieving different rustic paint finishes?
For a weathered look, apply a base coat, let it dry, then add a top coat of a contrasting color and sand edges to reveal the base. Use crackle medium between layers for an aged texture or dry brush with minimal paint for highlights. Experiment with washes of diluted paint wiped off quickly to mimic wear. These methods directly support the variety in the 18 creative ideas while keeping the process simple and forgiving for beginners.
How do I protect a finished rustic painted wooden cross?
Once the paint is fully dry, apply two thin coats of a clear matte polyurethane sealant or wax designed for wood. Allow each coat to dry and cure as directed, usually 24 hours between applications. This protects against moisture and fading while preserving the rustic texture. For outdoor use, choose a UV-resistant sealant and reapply annually to maintain the finish from the painting ideas.
Where can I source wooden crosses and additional supplies affordably?
Check craft stores like Michaels or Hobby Lobby for plain wooden crosses in multiple sizes. Online options such as Etsy or Amazon offer bulk packs at lower prices. For paints and finishes, local hardware stores carry affordable acrylic options, and thrift shops sometimes have old crosses to repurpose. Buying during sales helps keep costs down when trying multiple ideas from the list.